A photo was inspiration for working out how to make the bag. To avoid violating copyright, I am posting only the link above. Below is my creation, which is stronger and more durable.


The simplest way to make this bag would be to use a tea towel and cotton webbed tape**. In the interests of those who may not have such items in their possession, I am writing this in the longer form. If you do wish to use a tea towel and webbing, go straight to the instructions for **Attach straps/handles to bag.
Fabric required: approximately one metre (yard) of strong, woven cotton.
Furnishing fabric or denim would be ideal.
I used a medium weight cotton.
Sewing thread, scissors, iron.
Furnishing fabric or denim would be ideal.
I used a medium weight cotton.
Sewing thread, scissors, iron.
**If using webbing for straps, you would need approximately 230 cm.
Bag main piece preparation:
1. Using a tea towel as a guide for size, cut a piece about 3-4 centimetres wider than the tea towel.
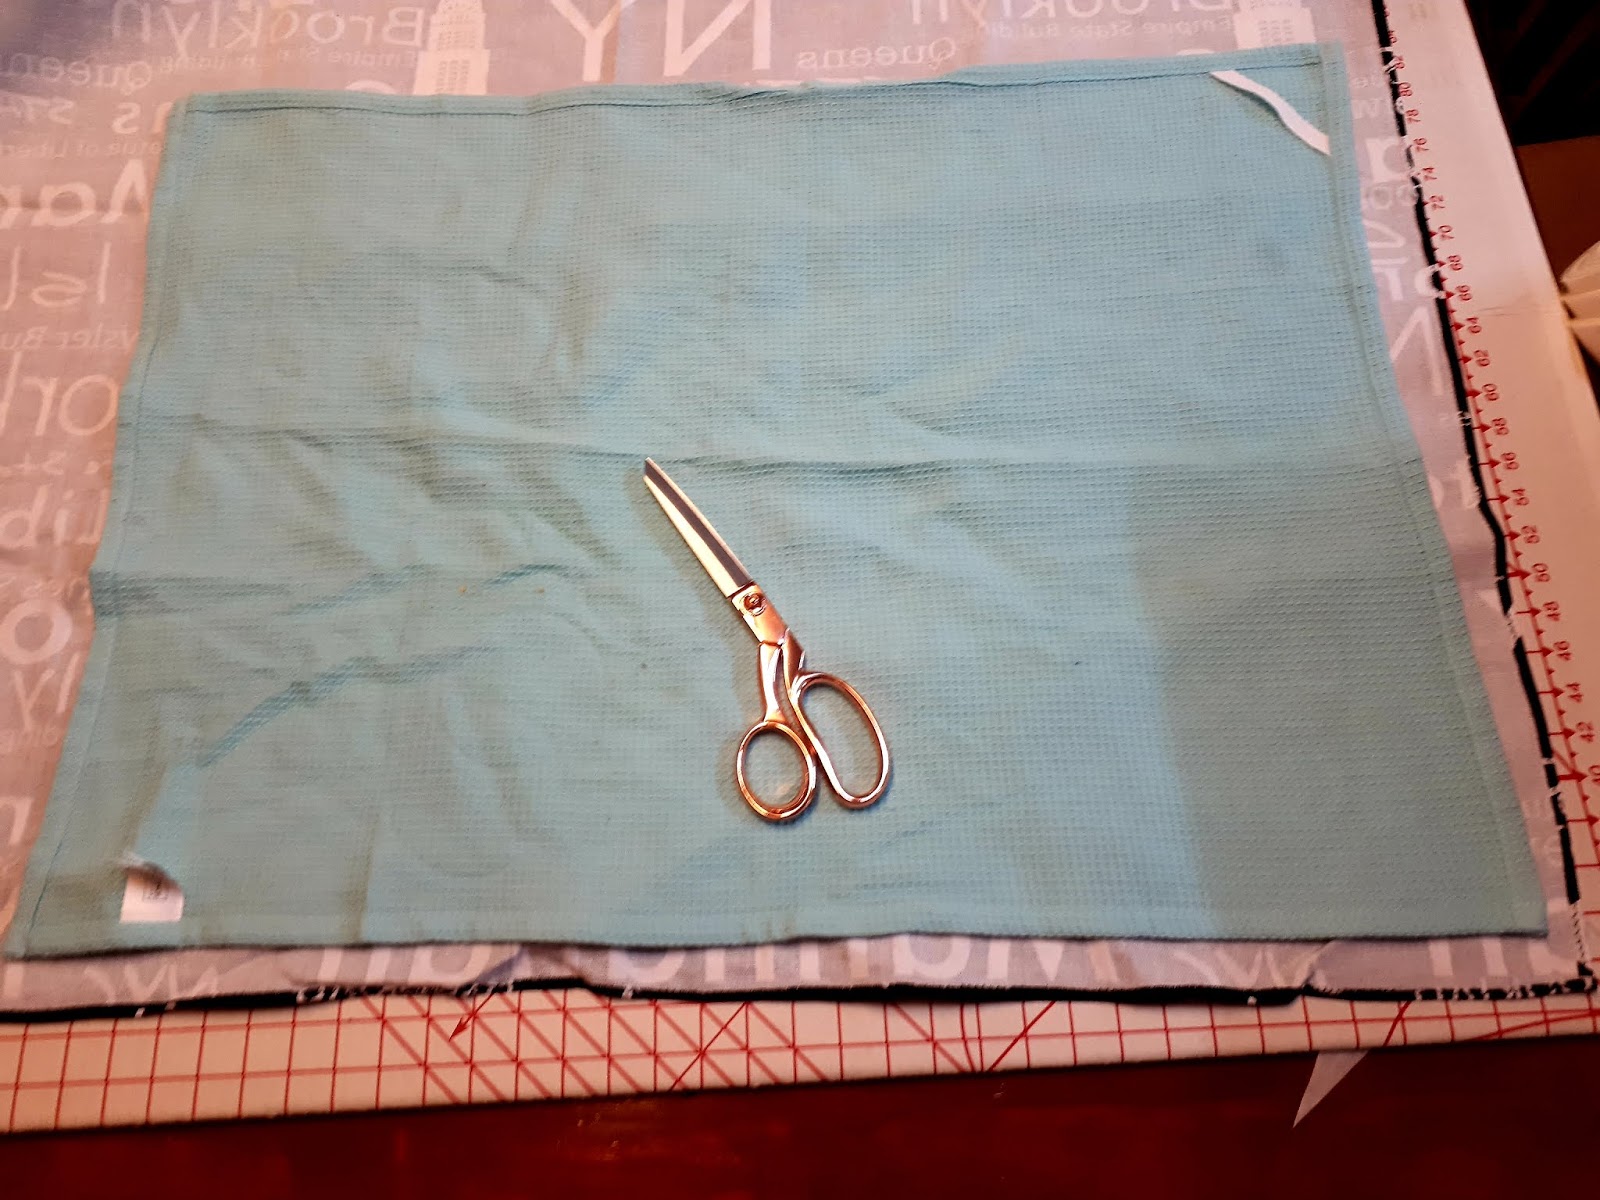

2. Press the edges under, then under again. You may want to trim corners to reduce bulk.


Straps/handles:
Please note that the handles and straps are made from the same long piece, strategically placed and overhanging the bag piece at each end to form the handles. See picture below if this is confusing.
 |
| Bag with handles, before seams are sewn |
1. It is preferable to cut straps/handles parallel to the selvage edge, as there is no stretch or give in this direction.
 |
| Selvage edge has a neat, straight line. |
(a) Cut the strap 4 times wider than the desired finished width. I cut mine 8cm wide to make 2cm straps.
 |
| My grid mat has 2cm squares as a guide. |
(b) Cut the length so that it will be about 230cm. You may need to cut two or more pieces to get to this length. A little more or less will only affect the size of the handle part.
(c) Sew together the pieces, if you had to cut more than one length. (Mine was 150cm plus 80cm, sewn together.)


2. Fold the strap in half, lengthwise and press flat. This will give a centre line to follow.


3. Turn each raw edge towards the centre line and press. Pin and topstitch.


4. Topstitch the other side for durability and symmetry. You can topstitch a number of rows, if preferred. This will add strength.

 |
| Finished topstitching on strap |
**Attach straps/handles to bag:
1. Mark the centre of the bag piece from both directions. I pressed it lightly in half, both ways to give guide lines.


3. Fold strap in half to mark centre, then pin centre of strap onto bag, 10cm from dead centre, in line with markings at ends. See middle arrow below for where to pin centre of strap. (Left and right arrows show the marking pins at the ends.) This point will end up at the base of the bag.
 |
| Note that the handles are the extension of the strap. See unfinished bag hanging on doorknob in picture above. |
4. Turn strap back towards the lower 10cm marking line on the centre line. Overlap ends of strap at this point and pin in place. Check that the strap handles are not twisted before pinning ends in place. (Do not fuss about the raw edges just yet.)
 |
| Ends of strap, overlapped. |
 |
| Arrows show where straps are pinned, 10 cm above and 10 cm below centre line, with centre of strap at top of picture and ends of strap at bottom of picture. |


 |
| Strap topstitched to bag |


8. Finish topstitching strap in the same way as step 6. Your bag should now look like this:
Finishing the bag:
1. Turn up each short end of bag towards the centre line, overlapping it slightly.


 |
| Ends should overlap just a little, about 1cm, to add strength. |

(When sewing next to a bulky area such as this edge, you might prefer to use a zipper foot.)

4. Finish thread ends, trim, turn bag through. Voila!!

Footnote:
If you wanted to make a shopping bag, follow the instructions up to "Finishing the bag". Fold the bag in half, right sides together and handles together, and simply sew a side seam.